
I have read over and over that this particular unit is a pain in the arse to get assembled. Worse yet, it seems the crossbows like to break off after you go through all the trouble of getting them together.
I am a big advocate of pinning my models and set out to see if you could reasonably pin the crossbows on. It turns out, you can, and I will walk you through how.
There was very little blood in me figuring it all out! I jabbed my pin vice fairly deep into my thumb, so hard that the drill bit bent a little. It hurt badly and was mainly due to me being careless while chatting with theleadhead and his wife.
I did some research and found a great article at Lyoss is Burning. They only reason I just didn't follow green stuff to hold the crossbows in place. I've tried using green stuff in this way several times and in the long run the join never holds. It may be due to me using too much modeling putty, but either way I'm not fond of that method.
If you pin a model well, it will take some serious abuse and not be a shattered mini in a small to medium drop situation. Case in point, my Kaelyssa was dropped on a glass table so hard it bounced! The sword arm didn't break off, just some paint chipped (it hadn't been sealed yet). This is the durability I want in a model that: A) I want to paint nicely B) Intend to play with.
Since the Lyoss is burning guide is very good, I will just cover what I did differently. If you want me to post a more in depth guide I will, but really
These are getting mounted on custom bases, so I snipped off the base tabs and filed everything so they would sit flush.

I took one of my files and filed the curved part of the crossbow stock to be a little flatter. This will help get a good surface to get the drill bit to "bite" into.
I then drilled out a hole on the stock. This doesn't have to be very deep, just enough to get the pinning material in the stock.

Next I drilled out a hole in the bow piece. You have to be careful here as if you go too deep, you will punch through the other side and ruin the head of the crossbow bolt. You may need to file a little bit to get a good surface to get the hole started.

I added some super glue to the hole and put in the brass pin. I then snipped off the rest of the rod; there isn't a large pin, but it will get the job done. Then dry fit the 2 pieces together to make sure they will form a flush join. If they don't, file, cut, or drill a larger hole as needed.


Attaching the arms basically follows the same process. File the end flat, line up, and drill away.
I'll use the UA sword arm as the example this time.

Here's the other side of the sword arm for the UA. Glue the pin and attach. Do the same for the crossbow arm. With the crossbow side you will need to file down the "nub" that fits into the model. I know the nub and the pin serve the same purpose, you can just sink the pin further.

Here is the UA with the arms attached and 3 pins on the bottom of the model. I typically put a pin on each foot and am done with it, but this guy is balancing on a small area so I wanted some extra stability.
Best tip here is once you have the pins in the model, press it firmly down on the base to mark where the holes need to be drilled in the base
Then dry fit the model to make sure it sits flush. Again file, cut, drill as needed to make sure it fits.

Add glue and press firmly down on the base, counting to 10-15 again. You now have an assembled model that will be ready for the abuses of the hobby.
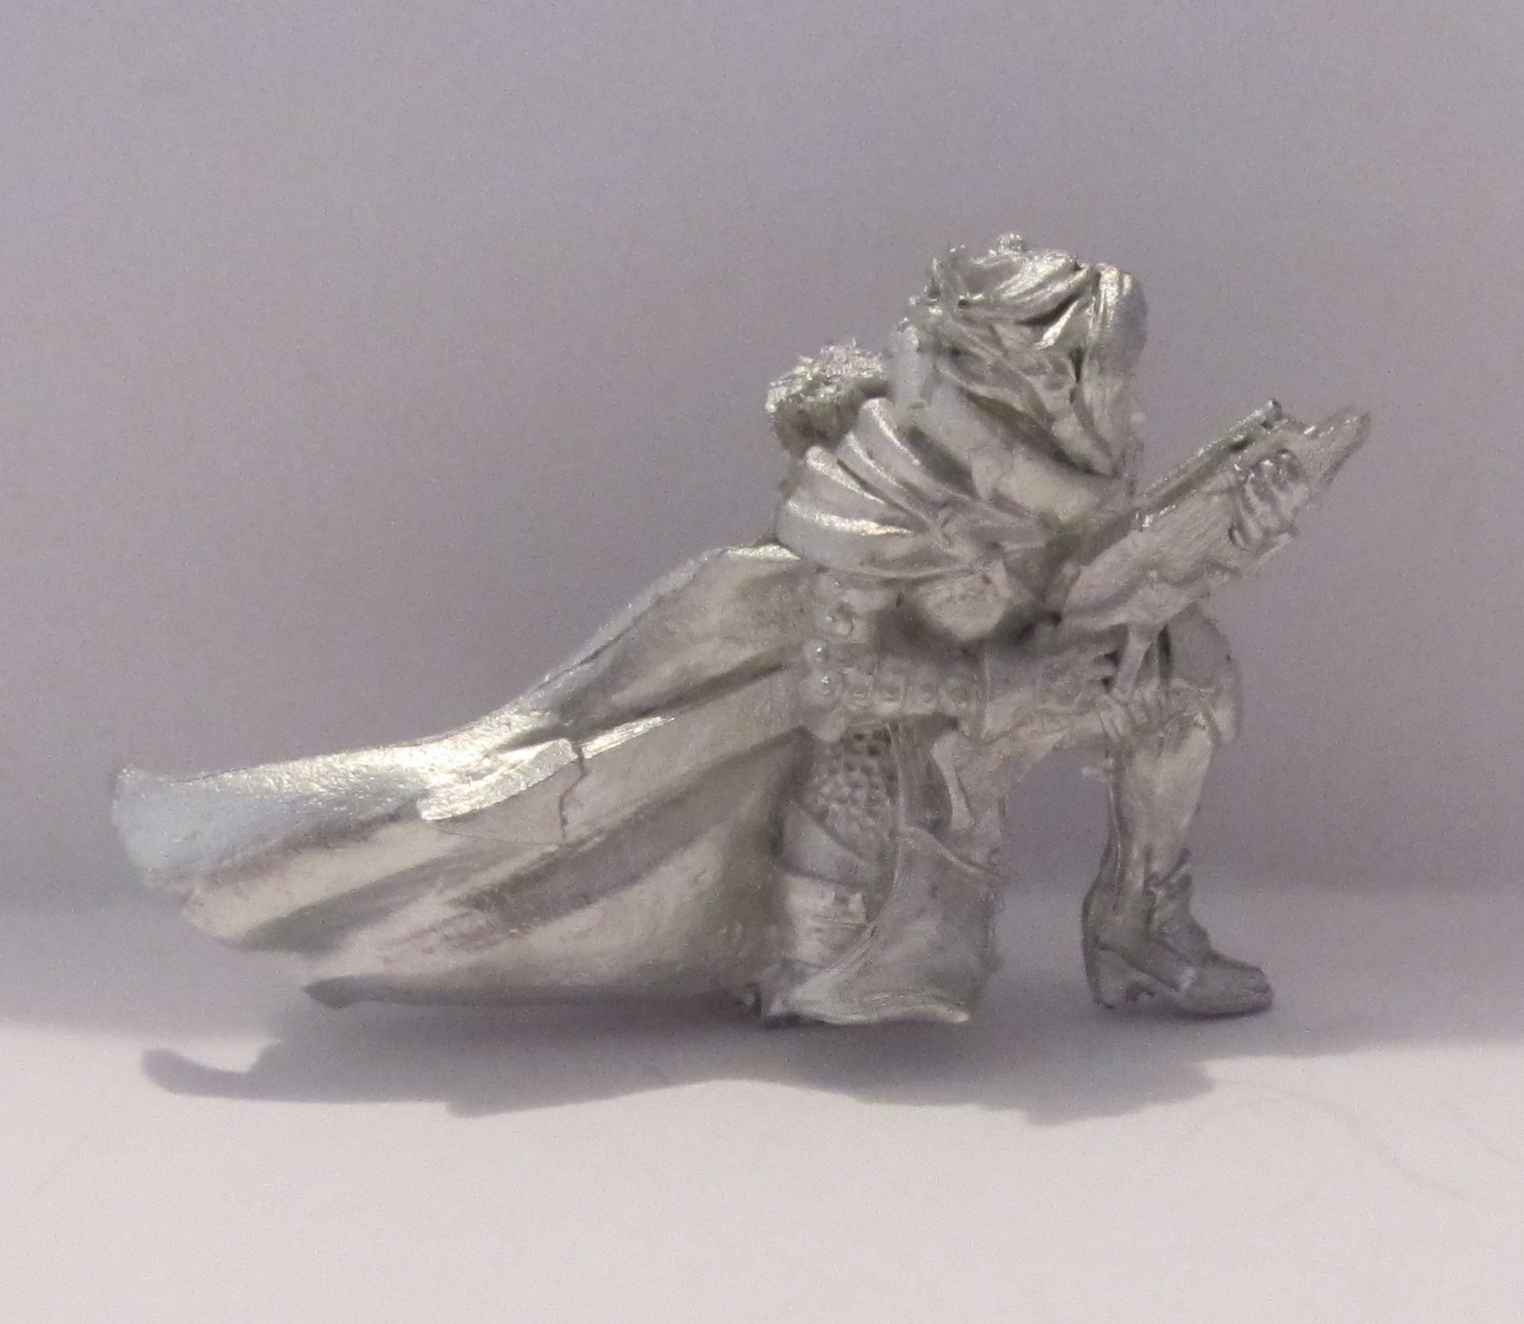
Here are a couple of different poses mounted on the bases:

If you have any questions let me know, I'll be happy to help out.
4 comments:
what's the diameter of the drill bit and the brass rod that you used? (metric units please :D)
I hate to give a not so great answer, but its just the dill bit and rod set from gale force 9. They do not list the sizes on the website or the package.
Its Product GFT032 on their site, so maybe you can get them to give out the details.
it's ok, I bought a 0.5mm drill bit and some wire of the same diameter and pinned the two troublesome MHSF, thanks
Your welcome. Glad I could help!
Post a Comment